Photo On Envato Elements
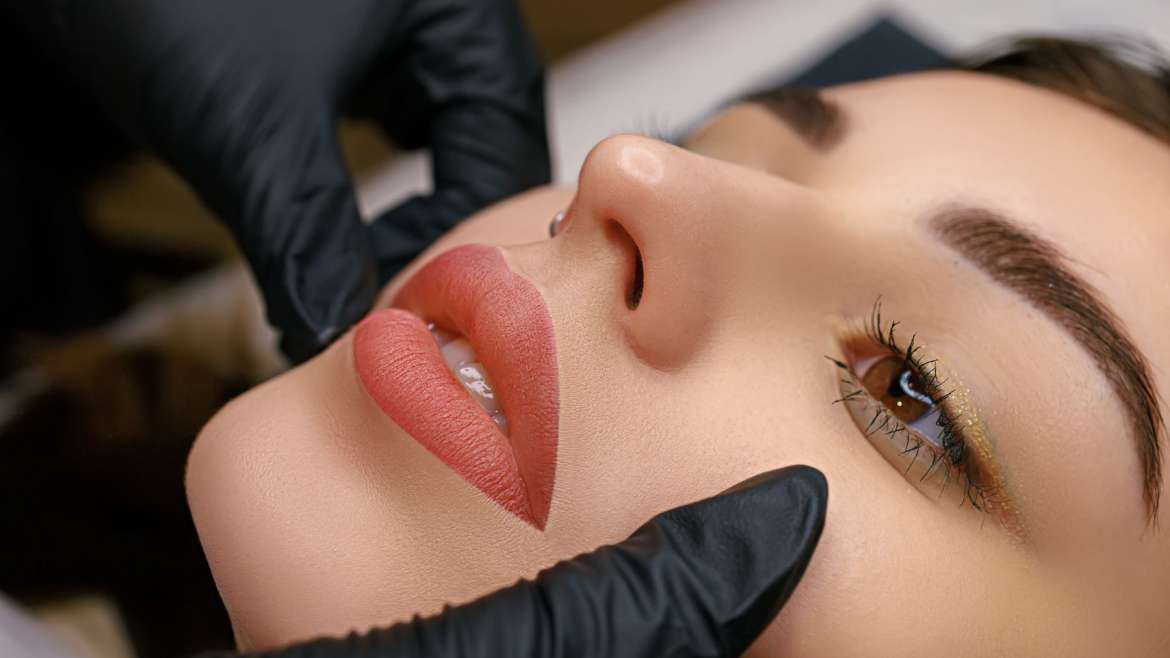
Lip Blushing
Lip blushing, also known as permanent lip blush, has become an incredibly popular trend in recent years. Not only celebrities and social influencers, but also working women, teenagers, and homemakers have fallen in love with this procedure. And who can blame them? The allure of luscious, voluminous, and beautifully tinted lips is simply irresistible.
However, it’s essential to note that achieving the desired results requires more than just finding the right artist. Proper lip blushing aftercare is crucial to ensure the appearance and longevity of your newly tattooed lips.
In this comprehensive guide, we will take you through the step-by-step process of lip-blushing aftercare. From the immediate post-procedure period to the weeks of healing and beyond, we’ll provide you with all the necessary information to care for your lips and achieve stunning, long-lasting results.
Day 1, 2, and 3: Early Stages of Healing
Immediately after your lip blushing procedure, you can expect your lips to feel excessively dry, chapped, and sensitive to touch. Additionally, they may appear more voluminous and brighter in color, thanks to swelling and the freshly implanted pigments.
To alleviate discomfort and promote healing, it’s recommended to apply ice for ten minutes several times a day during the first few days. Alongside this, moisturizing your lips is crucial. Use an ointment, such as Shea butter or Burts Bees wax, recommended by your professional, and apply it two to three times a day. Remember to avoid rubbing the ointment onto your lips; instead, use a clean Q-tip for precise application.
During this early healing period, it’s important to avoid activities that may hinder the recovery process. Refrain from kissing, rubbing, or causing friction on your lips. When it comes to your dietary choices, steer clear of spicy, salty, oily, or heavily seasoned foods, and drink using a straw to minimize contact with your lips. It’s also wise to avoid alcohol consumption during this time. After each meal, gently rinse and clean your lips with water, pat them dry, and reapply the ointment.
To prevent potential staining, consider using your old pillows for several days, as some residual pigment may come off your lips. Additionally, brush your teeth using only water for the first three days.
Day 4, 5, 6, and 7: The Peeling Phase
As your lips enter the peeling phase, you may notice a fading of color by 30 to 50 percent. It’s important to resist the temptation to pick or scratch your lips to remove peeling skin forcibly. Allow the peeling process to occur naturally. Throughout this phase, continue moisturizing your lips to keep them hydrated and nourished.
Second Week: Continued Healing
By the second week, your lips will have completed the peeling process, and the color will have lightened significantly. You can gradually return to your normal routines; however, take care to avoid any activities that may cause friction on your lips.
Although the peeling has subsided, your lips will continue to heal for up to six weeks. Each week, you may notice more color surfacing, enhancing the overall appearance. To ensure the best results, it’s crucial to keep your lips moisturized until the end of the healing phase. During this time, it’s advisable to avoid direct water pressure, including pools and other water bodies, until your lips are fully healed.
For the first fourteen days following the lip-blushing session, it’s important to avoid certain activities and substances that could interfere with the healing process. Steer clear of excessive sweating, sports activities, hot baths, sun/salon tanning, sun exposure, laser or chemical sessions, creams containing Retin-A or Glycolic acid, heavy household chores, working in dusty areas, and driving in open vehicles.
Sixth to Eighth Week: Final Healing and Results
As you reach the sixth to eighth-week mark, your lips will be fully healed, and the exact results of your lip blushing procedure will become apparent. At this stage, you can enhance the natural beauty of your lips by applying a lip gloss. If your lips still feel dry, continue moisturizing them regularly.
It’s important to note that achieving the desired lip transformation often requires two sessions. After healing, it’s recommended to use sunblock on your lips to protect them from harmful UV rays. You can also start wearing lipsticks at this time, ensuring that you use new lipsticks to maintain optimal hygiene.
By following the above instructions and giving your lips the care they deserve, you’ll be delighted to see the beautiful transformation that lip blushing can provide. If you encounter any symptoms or issues after the procedure, it’s crucial to consult with both your artist and physician to address them promptly.
Conclusion
Lip blushing has undoubtedly become a popular choice for individuals seeking to enhance the appearance of their lips. However, the key to achieving stunning and long-lasting results lies in proper aftercare.
By following the step-by-step guide outlined in this article, you’ll be well-equipped to care for your lips during each stage of the healing process.
Remember to moisturize, avoid friction and certain activities, and protect your lips from the sun. With patience and commitment to aftercare, your lip-blushing experience will be a true success, leaving you with the luscious and voluminous lips you’ve always desired.
Contact Us 210-257-9712